Creating Projects
Here you will find the step-by-step description on how to create projects in TMetric, who has permission to do it and how to create projects automatically with the browser extension.
Table of Contents
- How to Create Project
- How to Create a Non-Billable Project
- How to Create Project using Extension
- Project Manager Role and Permissions
How to Create Project
Create a project when you plan to manage a set of interrelated tasks that may be shared between a number of members.
A project in TMetric can be created only by a workspace owner or admin.
To create a project
1. On the main menu, click Projects. The Projects page will open. Here, you can see the list of existing projects (if any). 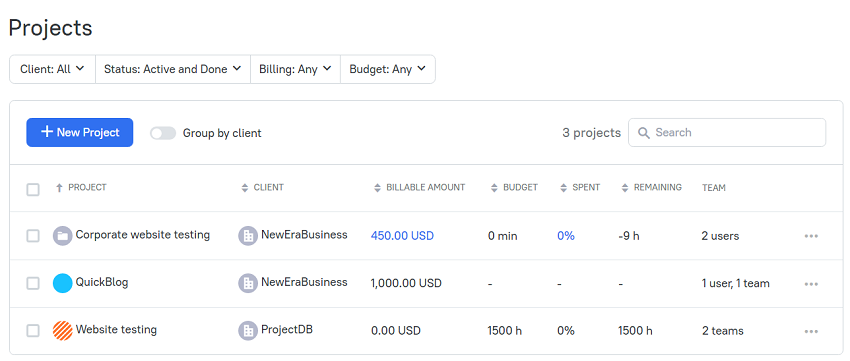
2. Click New Project.
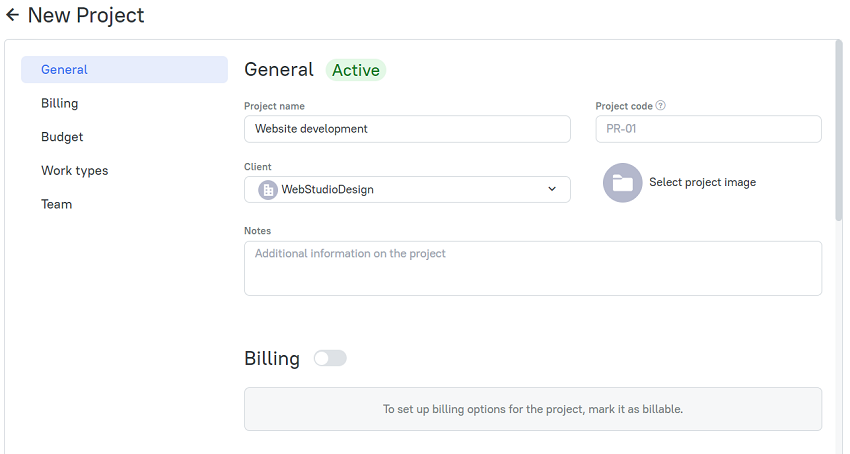
3. Under the General tab, type the name of the project. You can also specify the client, project code and select an avatar for the project, and optionally, additional information on the project in the Notes field.

4. If the project is billable, specify the invoice method in the Billable section, project rate (in case you select Project rate as an invoice method), project currency.
If you choose Person rate as an invoice method for the project, you can set a specific billable rate for each member in the project. This rate will apply to all of the hours that the member tracks to that project. You can do this in the Team section after you add members to the project.
For more information on billable rates, please refer to the Billable Rates topic.
5. To set a budget for the project, in the Budget section, select the budgeting method and set a budget size either manually or automatically.
For more information on budgeting, please refer to the Setting and Tracking Project Budget topic.

6. To add members to the project, go to the Team section and select members/teams from the list. Use the Search text box to quickly find a user/team you need.
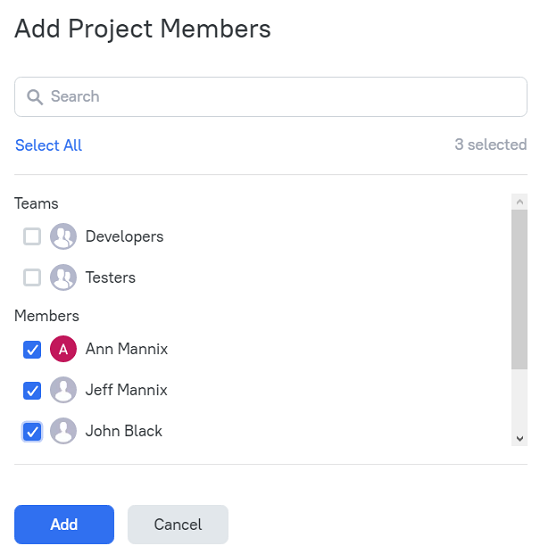
7. Click Add and the table with project members will appear in the Team section.
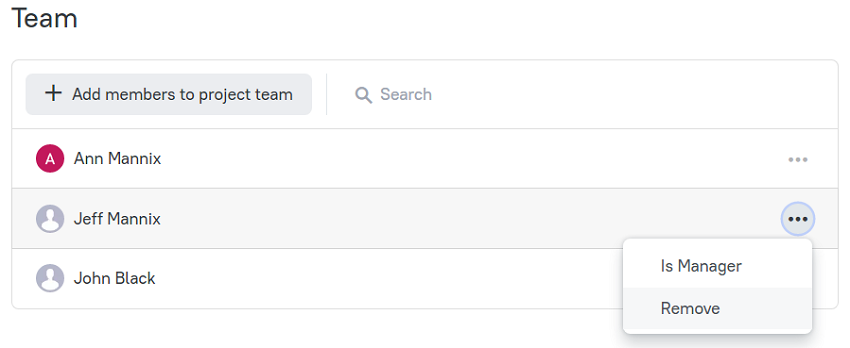
8. Use the action overflow button to edit the project member list. You can remove a member from the list or make him/her a manager.
Note: When there are no members added to a project, the project is considered to be public. A public project is visible for all members of your workspace, and every member can log his/her time to this project. The project is public until you assign at least one member to it. A private project is a project visible only to members of the project, an assigned project manager, owner, and admin.
How to Create a Non-Billable Project
When you have a project that should not be billed to the client (e.g., an internal project), you can create it as a non-billable one. For this, when creating a project, just leave the Billing option disabled.
How to Create Project using Extension
A project can be created not only directly in TMetric, but also automatically when using the browser extension. This functionality is available only for a user with an Owner or Admin role.
When you click the Start Timer button on a task in an external system, you can create a new project in the dialog box, which opens after this. Let’s see how it works:
1. You click the extension button in your project management system. If you are not logged into TMetric, it will prompt you to do so.
2. The Start timer dialog box opens.
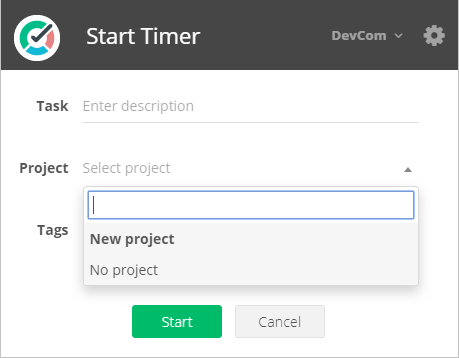
3. In the Select project drop-down menu, you select New project.
4. Now you need to enter a required project name and click the Start button.
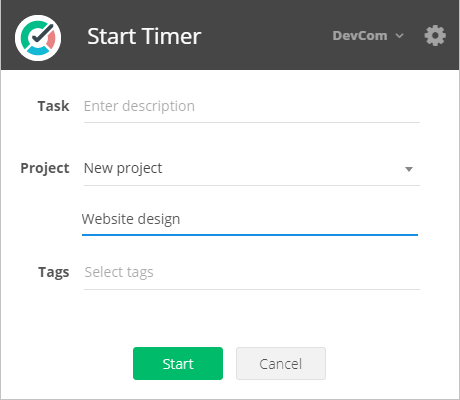
5. The project you've created appears in an active time entry in TMetric.
Project Manager Role and Permissions
Once a workspace owner or admin have created a project, they can assign a manager to it on the Edit Project page. A project can have an unlimited number of managers.
The main role of a manager is supervising and monitoring project implementation. So, a project manager has a wide variety of privileges:
- change general project settings: its name, client, status
- set a project budget
- add or delete team members on a project
- assign a project manager role to other users
- view reports on projects he is responsible for
See Also
Didn’t find what you were looking for?
If you didn't find what you were looking for, you can make a support request or email us to [email protected]. We'll be glad to help you personally.